
Reading List
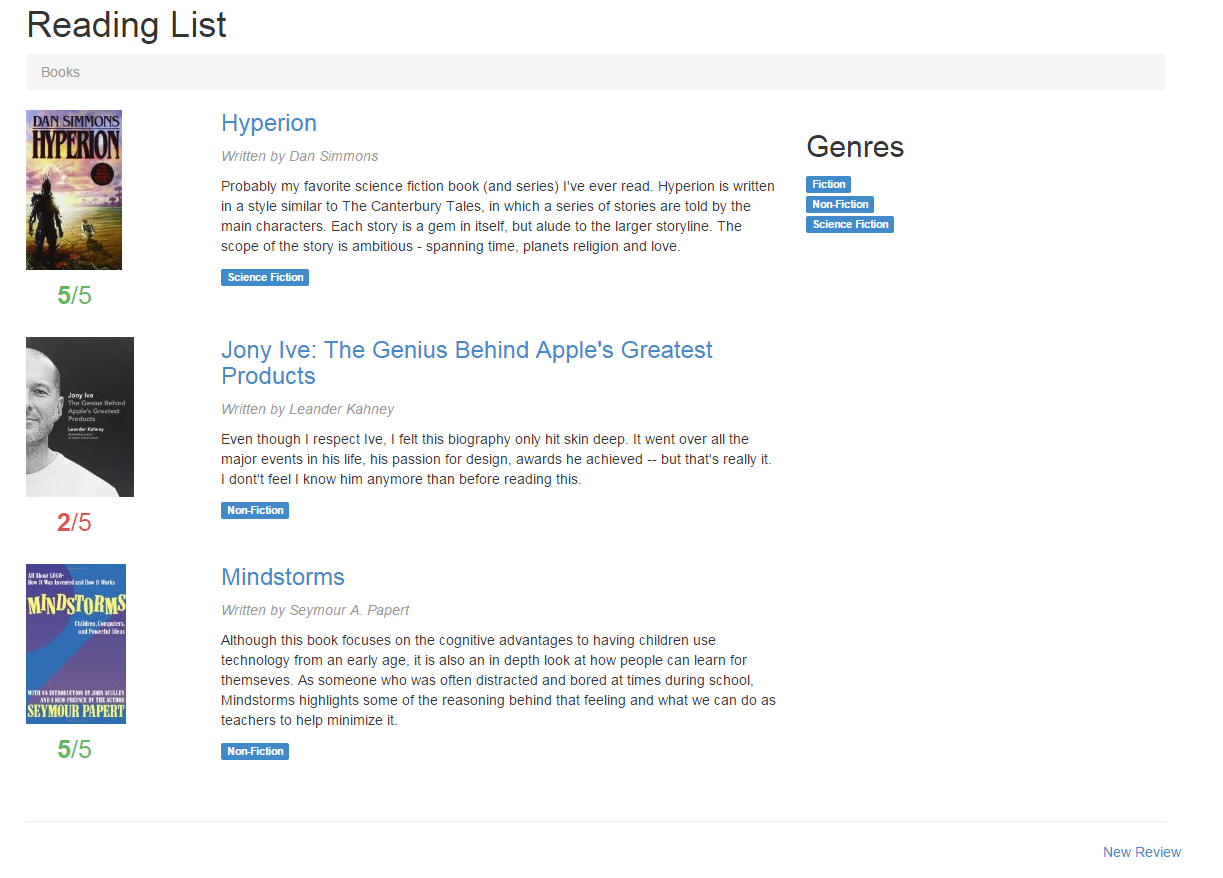
Yesterday I made a Reading List Application from a video on Code School. My reading list app is going to be uploaded on to this site and I will add books I recommend. It was made with Ember.js, an awesome Javascript library. It allows you to add books, but not save them on the server. I will add a link soon (if I can get my ftp to work).
What I Got For Christmas 2014
I got a lot of loot this Christmas. This post will show you my highlights starting with:
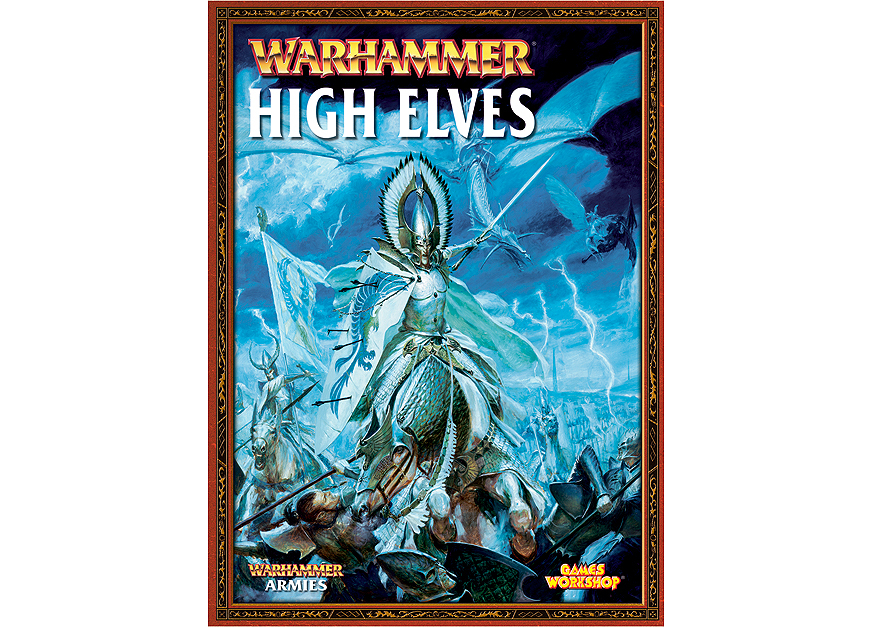

But the winner has to be….
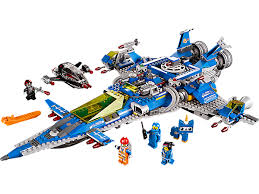
I got tons of presents this year, so many, it would take a long time to list them all. Merry Christmas and a Happy New Year!
Brill.js

Brill.js
is a javascript library that I made. It is like jQuery but feels like Rails because of how the data feels. I will make a video on how to use it.
Creating A Rails App – Views

Views are the part of the app that users see. To make one, go to this path: /app/views. You will see a folder called layouts. This contains your templates. If you made a model, then you should see a folder named after it. To use the views, make 2 files: index.html.erb and show.html.erb. Erb stands for Embedded Ruby. To use embeded Ruby, write <% @e = Example.find(1) %>. This doesn’t print out, so you have to write this to print it out: <%= @e.title %> . THe equals sign is very important. But this feels dirty, writing this logic in erb. This should go inside a controller instead. We will discuss controllers in part 3.
Creating A Web App With Rails – Models
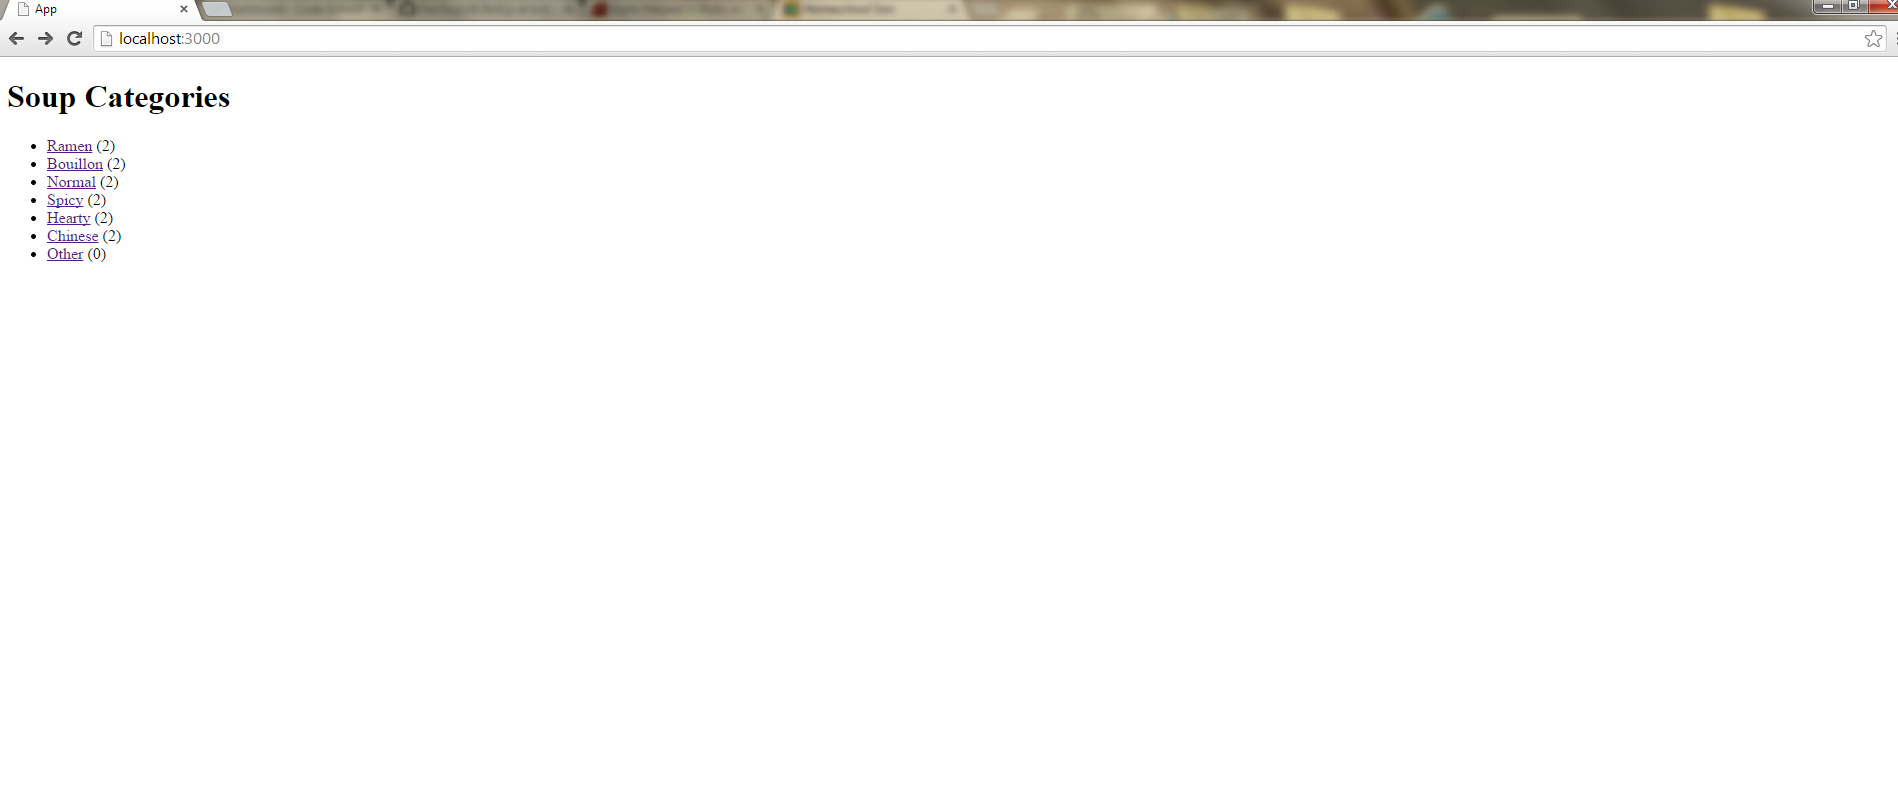
Your previous app is great on the client side, but not on the server side. I am going to cover on how to make a rails app. The first thing you need, is rails. Once you have rails installed, go to your command line and write $ rails new 'your app name goes here' . Then cd into the new folder you just created. Most rails apps are centered around a database, so let’s start there. In the app you see in the picture, there are 2 models. A model is a class for the data you send in. To make these models, write rails generate model ModelName *properties go here*. An example of the property syntax looks like this: name:string number:integer boolean:boolean. So you made the model, but you don’t have any instances of the model. To make one, write $ rails console. When that loads, write ModelName.create(exampleProperty:"Hi"). This saves to the database,but doesn’t do anything yet. Your user doesn’t see anything, and there’s no server. To solve the last problem, write $ rails s. But when you visit localhost:3000, it will throw an error. This is because you need to rake the databse by writing $ rake db:migrate. As for the first problem, we will cover that in part 2, Controllers and Views.
How to Create a Web App Part 4

When creating a web app, you will always need a backup. This is where Git comes in. First you have to download git (if you don’t have it). Then (with your command line) you cd into your folder. Write git init. Then look in your newly created .git folder. Once you’ve found your newly created repository, go back in to your command line and write git clone all *repository name*. There are your backups! Now for some best practices. It is always good to minify your js files. Also, put your script tags at the bottom of your body. Here are some CSS best practices: When you want to change the content of an item when the mouse clicks, don’t use jQuery. Use some pseudo classes instead. For example:
p{

color:red;

}

p:hover{

content:'';

color:blue;

}
Is better than using jQuery. If you use this, make sure you add the content value!
How to Create a Web App Part 3
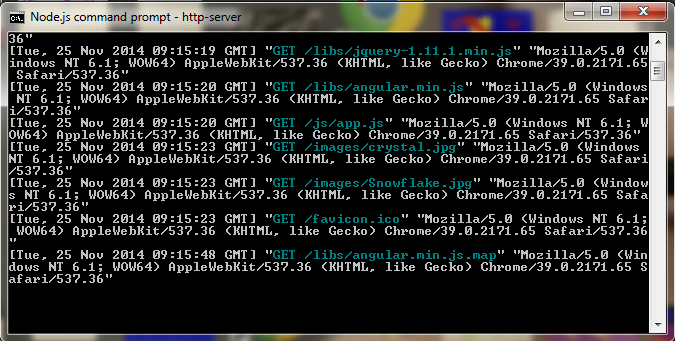
If you need to make a server for your app, you have to use Node.js. The first thing you need to do is install node and npm. Then, go into your Node command prompt. Then you have to change your directory. It sometimes helps to move your app into a different directory. Using the command cd you have to go into your App folder. To go up a directory, use cd..
Then, when you are in your App folder, write npm install http and press enter. Then write http-server and hit enter. Wait for it to finish and you have your server! This is all you need to know to create a web app.
How to Create a Web App Part 2
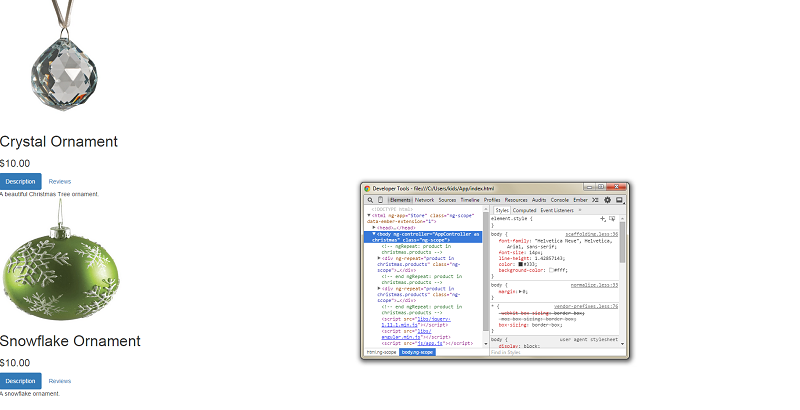
The picture above shows an example of a web app I am producing. It is a Christmas store I made with Angular.js. In order to add these libraries, make a folder called libs and download your libraries from the web. Save the libraries into libs. Then, in your index.html, add more of those script tags linking to those libraries. As your js starts to get complicated, you need something to debug it. This is where Google Chrome DevTools come in. Simply press F12 on your keyboard and it comes up. You can see your errors in the console. There is a lot of stuff in DevTools, but there is a course on Code School that’s free and helpful. You may need to save data on a server. This is where Node comes in, and a story for Part 3…
How To Create a Web App Part 1
I’m assuming you have fair knowledge of HTML and CSS.
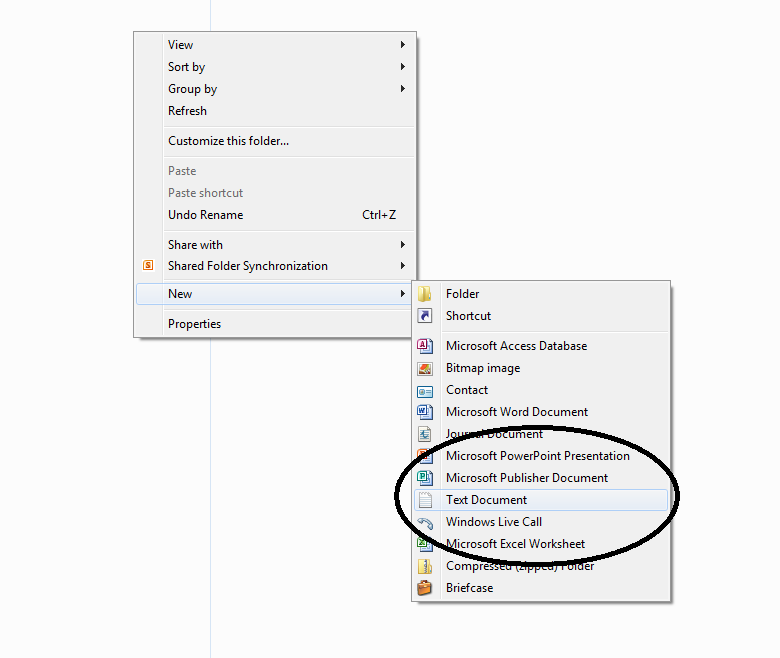
A good text editor is Notepad.
The first step to creating a web app is to make a folder called App and put a index.html file in that folder using Notepad. Make sure the index.html has a .html extension! Then edit your index.html. Right click on the index.html and open with Google Chrome (or whatever your browser is). The next step is to create your stylesheets and add your Javascript. Make a folder inside your App folder and call it css. Inside css, create a style.css using Notepad and put some styles into it. In your index.html, make a link to your style.css. Then make another folder in your app called js. This will store all of your Javascript (Javascript is completely optional, but is recommended). Add a script tag to index.html containing a link to your js (You should know how to do this). You may notice that jQuery doesn’t work! This because you need the jQuery library, which you can get at jquery.com. I will discuss how to add libraries in the next part.